
Commercial Foam Roofing: Unmatched Insulation & Seamless Protection
Revolutionary Thermal Performance and Lightweight Durability for Your Business.
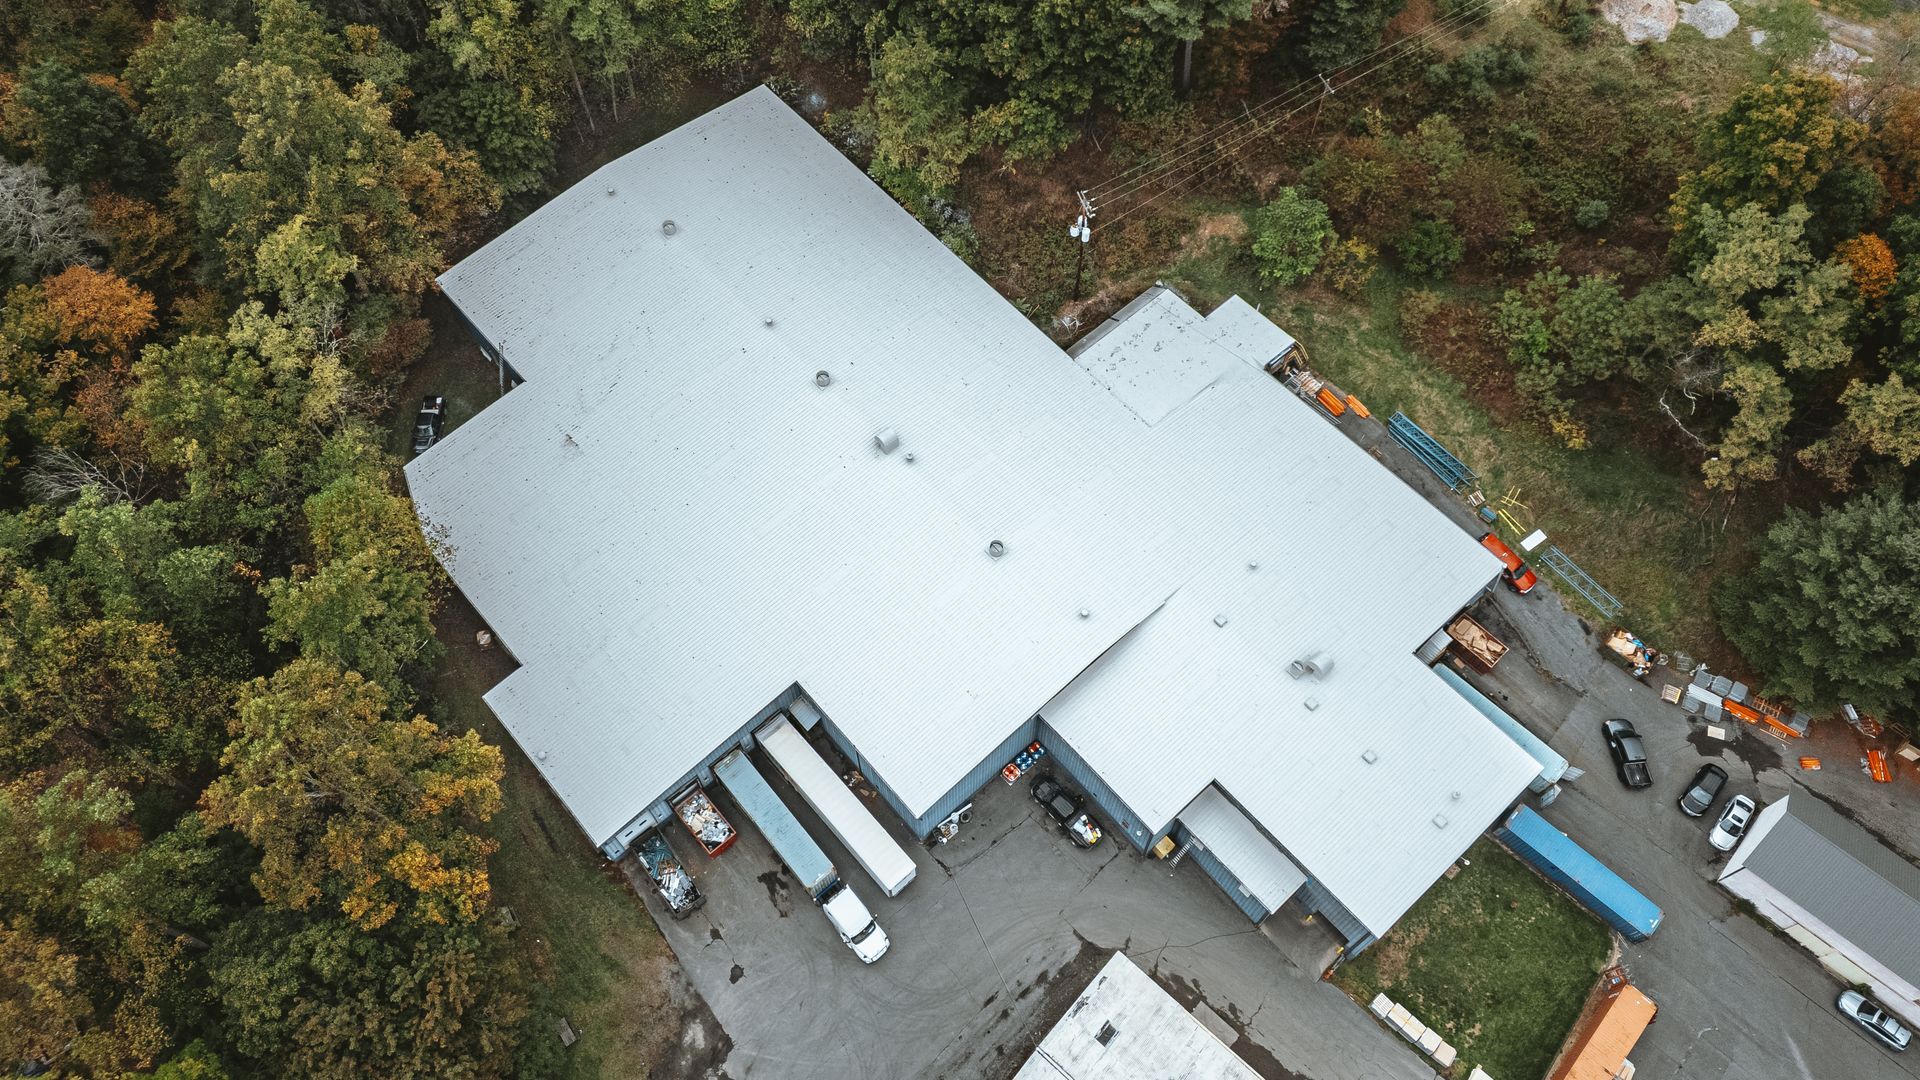
For commercial properties seeking unparalleled thermal performance and a seamless, lightweight roofing solution, Stormy Ridge Commercial Roofing expertly installs advanced foam roofing systems. This innovative technology provides superior insulation directly on your roof deck, creating a monolithic, self-flashing barrier that significantly reduces energy consumption and enhances interior comfort.
Our foam roofing services are ideal for a variety of commercial applications, particularly where superior insulation, a seamless finish, and a lightweight footprint are critical. Clients choose Stormy Ridge for our foam roofing services not just for the inherent benefits of the system, but for our superior customer service, outstanding results, and the longevity we build into every project. Coupled with robust warranties, our foam roofing solutions offer a smart, long-term investment for businesses prioritizing energy efficiency and durable protection.
01
Superior Insulation
Achieves high R-values, drastically reducing heating and cooling costs year-round.
02
Seamless & Watertight
Applied as a liquid, it cures to form a monolithic barrier, eliminating common leak points.
03
Lightweight Application
Adds minimal load to your building's structure, ideal for various roof types.
04
Self-Flashing
Conforms to irregular shapes and penetrations, creating a continuous waterproof surface.
05
Excellent Adhesion
Bonds strongly to most existing roof substrates, often eliminating the need for a tear-off.
06
Ideal for Diverse Climates
Performs exceptionally well in both extreme heat and cold, maintaining its integrity.
07
Outstanding Results
Our commitment to quality ensures a high-performance, long-lasting foam roof.
08
Comprehensive Warranties
Backed by excellent warranty options for materials and labor, ensuring peace of mind.
Step 1: Roof Inspection and Preparation
The process begins with a thorough inspection to determine if the existing roof is a good candidate for a foam system.
✓ Assess the Substrate: The existing roof surface (e.g., metal, concrete, built-up roof, or single-ply) is inspected for structural integrity. An infrared survey may be used to identify any trapped moisture.
✓ Repair and Clean: All existing leaks, cracks, and damage are repaired. The entire roof surface is then meticulously cleaned, often with a pressure washer, to remove all dirt, debris, oil, and contaminants. This is critical for the foam to adhere properly.
✓ Environmental Conditions: The contractor ensures that environmental conditions are suitable for application. This includes temperatures being within the recommended range (typically above 50°F), low humidity, and no rain in the forecast, as moisture can compromise the foam’s curing process.
Step 2: Foam Application
This is the main phase where the specialized foam is applied to the roof.
✓ Protect the Surrounding Area: The crew takes steps to protect the surrounding building, vehicles, and landscaping from overspray by using tarps and windscreens.
✓ Mix the Components: The foam is created on-site by a specialized machine called a proportioner. It accurately mixes two separate liquid chemical components at high pressure and a precise temperature.
✓ Apply the Foam: The blended liquid is pumped through heated hoses to a spray gun. The installer applies the foam in an even, smooth layer directly onto the prepared roof surface.
✓ Expand and Cure: As the liquid foam hits the roof, it rapidly expands up to 30 times its original size, filling all gaps and crevices. It cures within minutes, forming a solid, lightweight, and seamless layer. The thickness of the foam (typically 1 to 2 inches) is determined by the required R-value for insulation.
Step 3: Protective Coating Application
Once the foam is installed, a protective coating is applied to shield it from UV rays, weathering, and foot traffic.
✓ UV Protection: The foam will degrade within a short period if exposed to the sun's UV rays, so a protective elastomeric coating (typically silicone or acrylic) is applied.
✓ Apply a Base Coat: A base coat is sprayed or rolled onto the foam to provide a uniform, waterproof layer and a secure foundation for the final coat.
✓ Apply a Finish Coat: A final, highly durable topcoat is applied. This coat provides the primary weathering surface and is often a light, reflective color to increase the roof’s energy efficiency.
✓ Add Granules (Optional): In some systems, ceramic granules are embedded into the wet topcoat. This adds slip resistance, provides extra durability, and enhances the coating’s UV protection.
Step 4: Final Inspection and Curing
The final step ensures the quality of the installation and prepares the roof for long-term performance.
✓ Final Walkthrough: The contractor conducts a comprehensive final inspection to ensure the coating is evenly applied and that all details and flashing have been properly sealed.
✓ System Curing: The finished roof is allowed to cure for the manufacturer's specified period. Once cured, the system is fully bonded and ready to provide a waterproof, insulative, and durable roof for decades to come.