
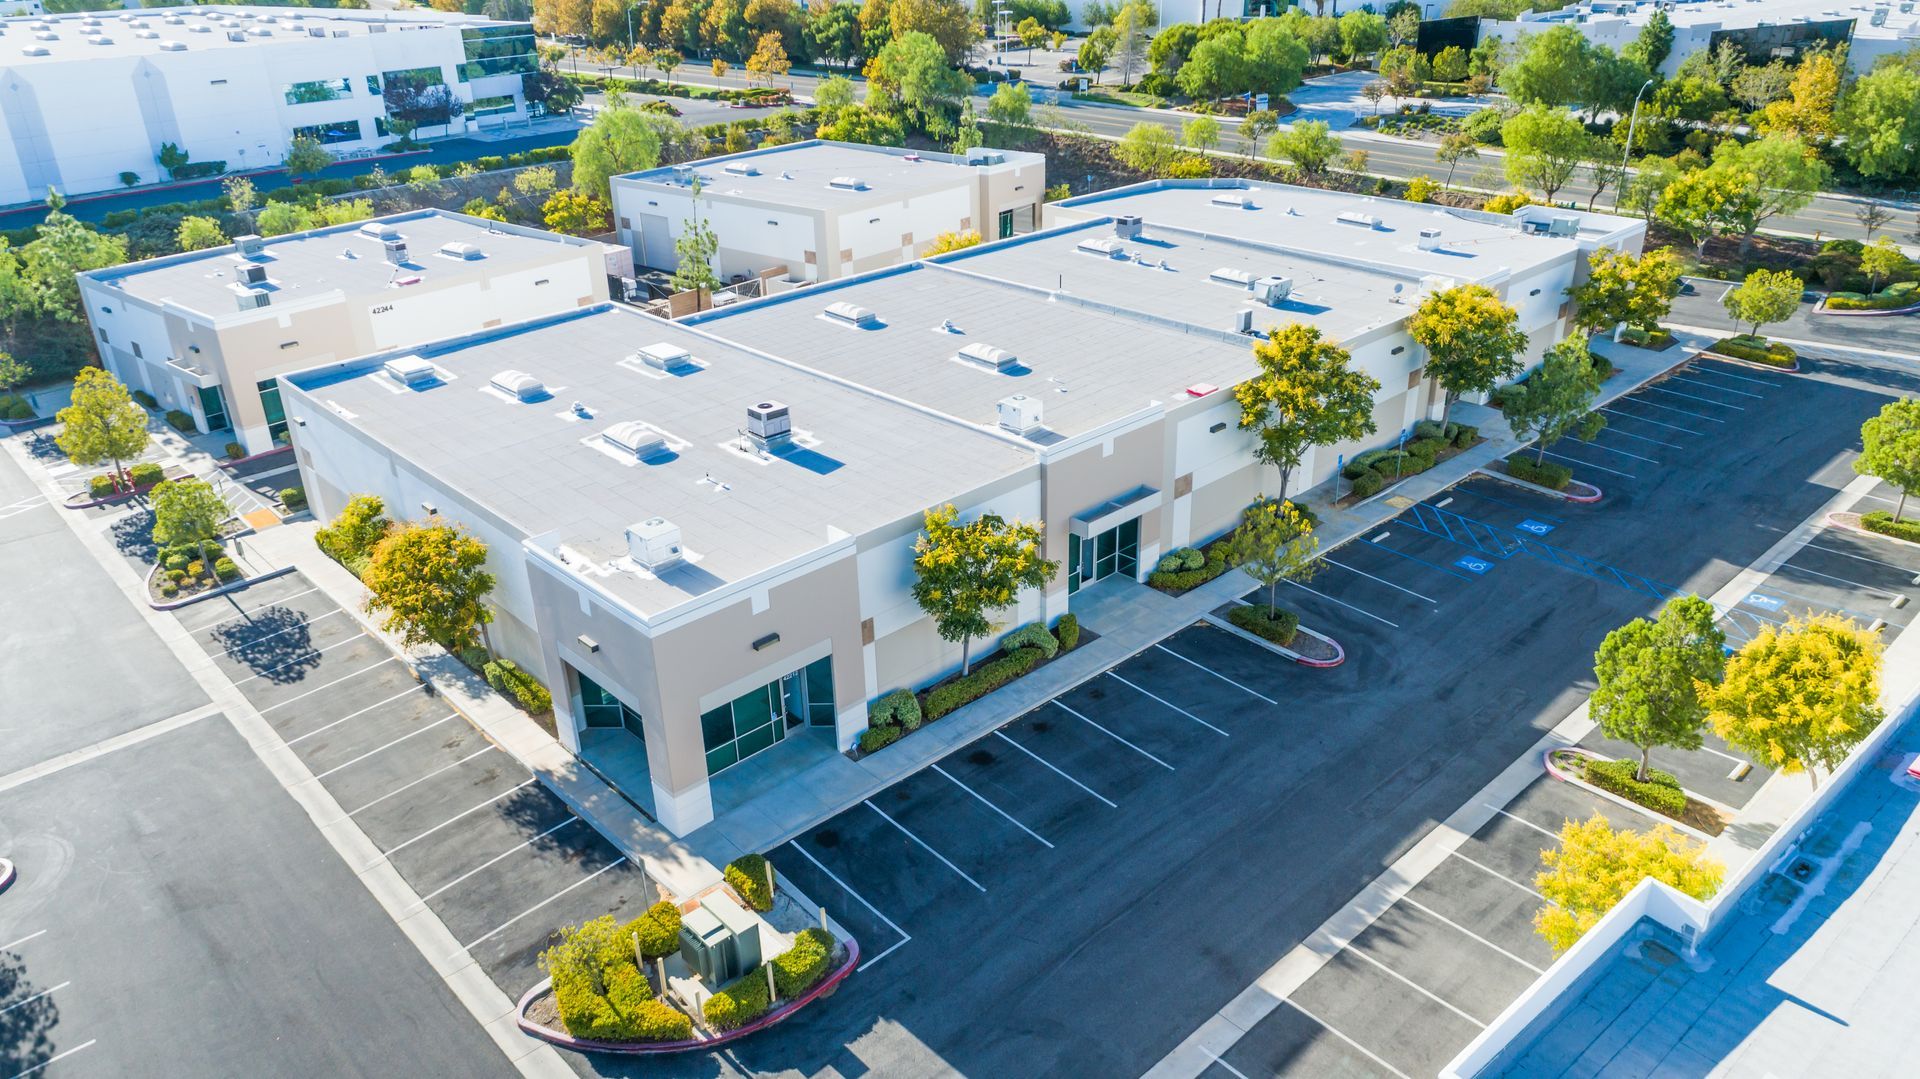
Systems
Advanced Commercial Roofing Systems by Stormy Ridge Construction
Tailored Solutions for Superior Protection, Performance, and Value.
Systems
Advanced Commercial Roofing Systems by Stormy Ridge Construction
Tailored Solutions for Superior Protection, Performance, and Value.
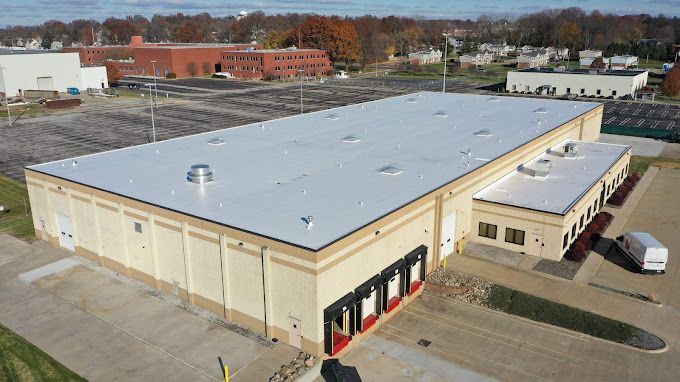
At Stormy Ridge Construction, we understand that no two commercial properties are exactly alike.
That's why we offer a diverse portfolio of advanced commercial roofing systems, each selected for its proven performance, durability, and suitability for various applications. Our expertise extends across a wide range of systems, ensuring we can recommend and install the perfect solution that aligns with your building's structure, operational needs, and long-term goals.
From innovative restoration coatings that breathe new life into existing roofs to robust single-ply membranes and durable metal systems, our team is equipped to deliver exceptional results.
We work closely with you to evaluate your specific requirements, providing informed recommendations on the most efficient, cost-effective, and long-lasting roofing system for your commercial, educational, industrial, office, or hospitality property. Our commitment to premium materials and unparalleled craftsmanship means your new roofing system will perform optimally for years to come.
Our Core Commercial Roofing System Expertise
Membrane Restoration Roof Systems
Advanced, seamless systems for restoration and energy efficiency.
Fabric Reinforced Roof System
Robust, flexible solutions for added strength and durability.
Full Foam And Coating Roof System
Superior insulation and seamless protection for enhanced thermal performance.
Metal Restoration Roof System
Long-lasting, aesthetically versatile, and highly sustainable options.
Single-Ply Roof System (PVC-TPO)
Versatile, lightweight, and durable membranes for flat and low-slope roofs.
Choosing the right commercial roofing system is crucial for your business's long-term success.
Trust Stormy Ridge Construction to guide you through the options and install a high-performance solution that provides superior protection, energy efficiency, and value for your commercial property.
Commercial Membrane Roof Coating: Restore. Protect. Save.
Extend Your Roof's Lifespan, Enhance Energy Efficiency, and Secure Seamless Protection.
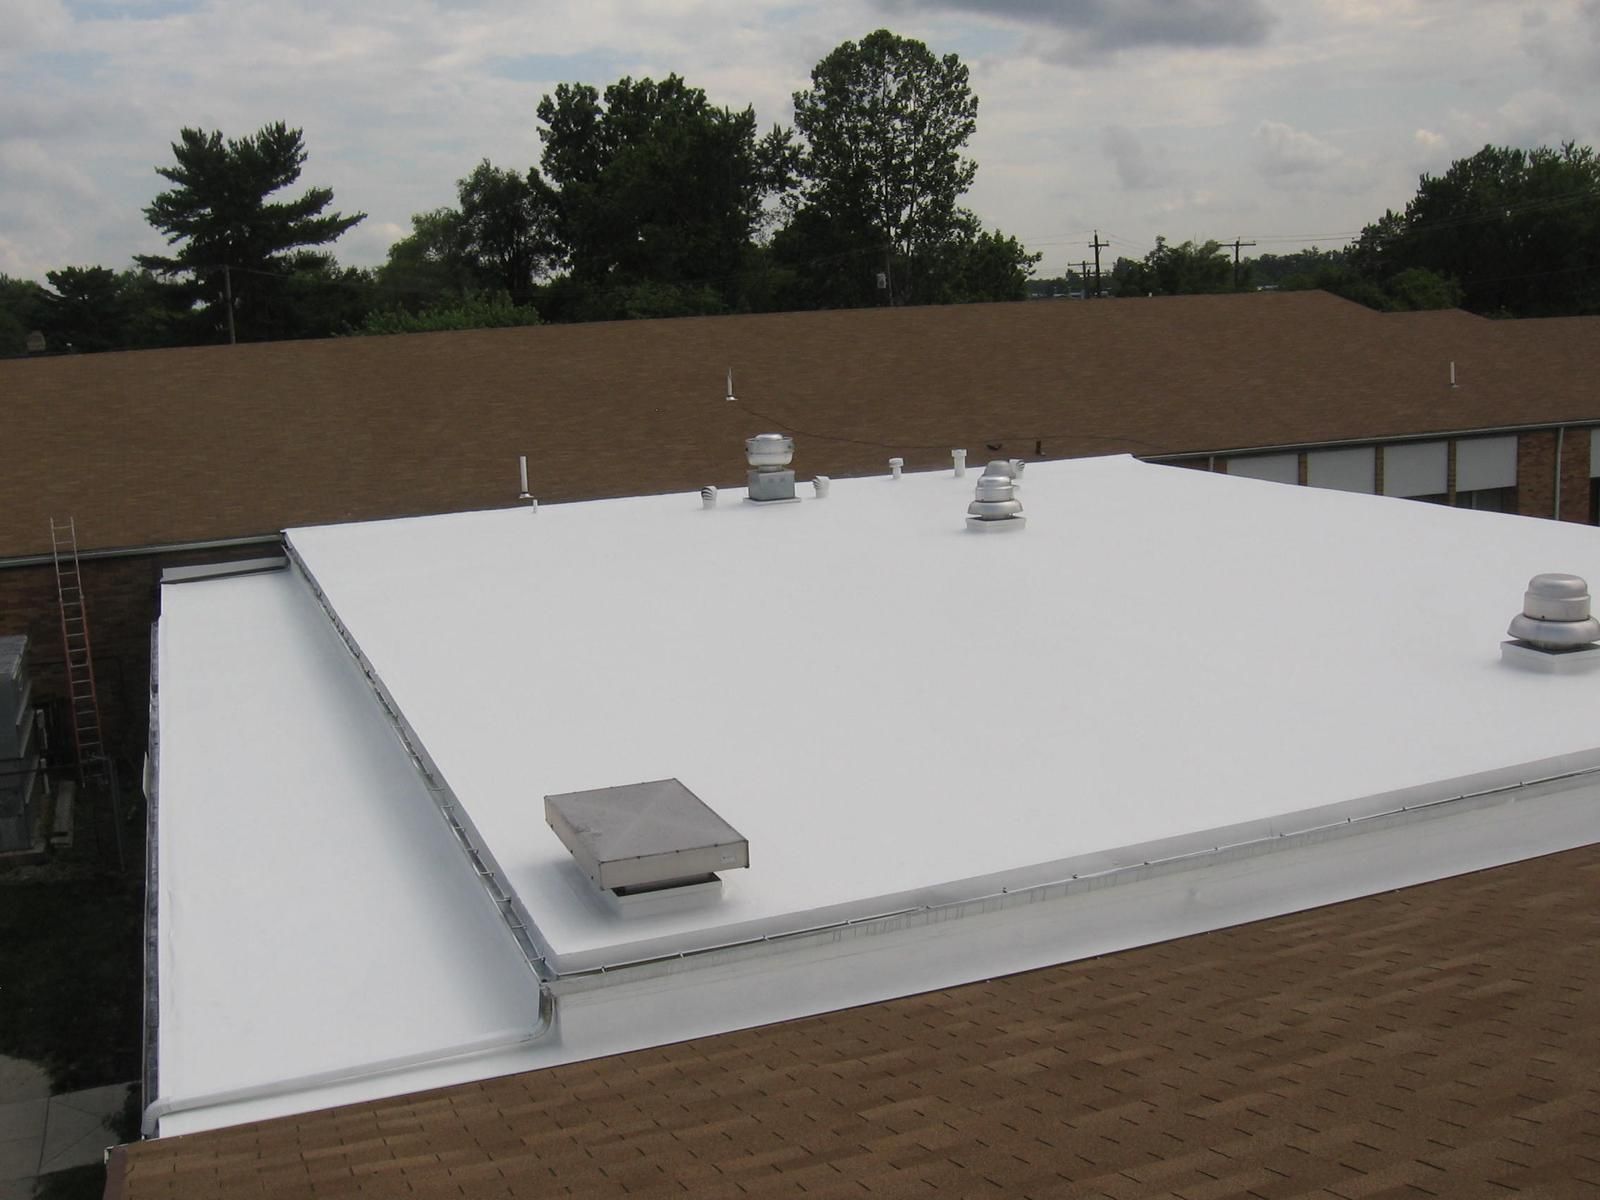
For many commercial properties, a complete roof replacement isn't the only answer. Stormy Ridge Construction specializes in the application of advanced membrane roof coating systems, a highly effective and cost-efficient solution for restoring existing roofs. These innovative coatings create a seamless, protective layer over your current roofing surface, breathing new life into aging systems and significantly extending their lifespan without the need for disruptive tear-offs.
Our membrane roof coating services deliver significant benefits, including superior energy efficiency, which can lead to substantial reductions in cooling costs for your facility. The seamless application ensures unparalleled protection against leaks, providing a durable, monolithic barrier. This restoration approach offers a highly cost-effective alternative to re-roofing, providing long-term performance and robust, non-prorated warranties, protecting your investment for years to come.
01
Cost-Effective Restoration
Avoid the high cost and disruption of a full tear-off and replacement.
02
Enhanced Energy Efficiency
Reflective properties reduce heat absorption, significantly lowering cooling costs.
03
Seamless, Watertight Protection
A monolithic membrane eliminates seams, common points of leakage.
04
Extended Roof Lifespan
Dramatically prolongs the life of your existing commercial roof.
05
Minimized Business Disruption
Quicker application means less impact on your daily operations.
06
Non-Prorated Warranties
Typically ranging from 10 to 18 years, these warranties cover 100% of material and labor costs for the entire period, offering full value protection.
07
Renewable & Transferable Warranties
Many systems allow warranties to be renewed with a maintenance coat or transferred to new building owners, adding long-term value.
Step 1: Roof Inspection and Assessment
The process begins with a thorough inspection to determine if the existing roof is a suitable candidate for a coating system.
✓ Identify Problem Areas: The contractor will meticulously check for any areas of damage, saturated insulation, rust, or existing leaks. An infrared survey may be used to detect hidden moisture pockets beneath the surface.
✓ Assess Substrate: The type of existing roof membrane (e.g., TPO, PVC, EPDM, modified bitumen, metal, or built-up roof) is identified to ensure the correct coating and primer are used for optimal adhesion.
✓ Verify Eligibility: A plan is developed based on the roof's condition. The roof is only a good candidate for restoration if it is structurally sound and the damage is not too extensive.
Step 2: Surface Preparation
Proper surface preparation is the most critical step for ensuring the coating system's long-term performance and warranty validity.
✓ Clean the Roof: The entire roof surface is professionally power-washed and cleared of all dirt, grime, debris, and contaminants. A specialized cleaning solution is often used to remove stubborn residues and oxidation.
✓ Ensure a Dry Surface: The roof must be completely dry before any coatings are applied. Any trapped moisture can lead to adhesion failure and premature system breakdown.
✓ Repair Damage: All existing cracks, splits, punctures, and holes are sealed and repaired with specialized repair materials to create a solid, stable surface for the coating.
Step 3: Seam and Penetration Reinforcement
This step strengthens the most vulnerable areas of the roof to create a truly seamless and watertight system.
✓ Reinforce Seams: All existing seams where the original roof sheets were joined are reinforced. This is typically done by embedding a specialized fabric or reinforcing tape into a base coat, which then receives a layer of the fluid-applied membrane.
✓ Detailing Penetrations: All areas around roof penetrations, such as pipes, vents, and HVAC units, are meticulously sealed and reinforced with the same process to create a continuous, watertight seal.
✓ Secure Edges: The perimeter of the roof and all flashing are secured and coated to prevent water from entering at the edges.
Step 4: Primer Application (If Required)
Depending on the type of existing roof membrane and the selected coating system, a primer may be necessary.
✓ Apply Primer: A specialized primer is applied to the entire roof surface. This layer is crucial for promoting strong adhesion between the existing membrane and the new coating system, ensuring a long-lasting bond.
Step 5: Coating Application
This is the final phase where the new protective membrane is applied to the entire roof.
✓ Mix the Coating: The coating material is thoroughly mixed according to the manufacturer's specifications. It is often a single-component system, but some are two-component systems that require mixing.
✓ Apply the Membrane: The fluid-applied membrane is sprayed, rolled, or brushed onto the entire roof surface. It is applied in a uniform thickness to create a smooth, monolithic membrane that seals every imperfection, seam, and crack.
✓ Apply Multiple Coats: Depending on the system and desired warranty length, a base coat is often followed by a final topcoat. The topcoat is typically a highly reflective, durable finish that protects the membrane from UV rays and weathering while improving the building's energy efficiency.
Step 6: Final Inspection and Curing
Once the application is complete, a final quality check is performed before the roof is ready to perform.
✓ Final Walkthrough: The contractor performs a comprehensive inspection to ensure the new membrane is evenly applied, properly adhered, and free of any defects.
✓ Allow for Curing: The coating is left to cure for a specified time as per the manufacturer's guidelines. This allows the membrane to fully harden and create the strong, waterproof, and seamless barrier that will protect the building for years to come.
✓ Cost-Effective Restoration: Avoid the high cost and disruption of a full tear-off and replacement.
✓ Enhanced Energy Efficiency: Reflective properties reduce heat absorption, significantly lowering cooling costs.
✓ Seamless, Watertight Protection: A monolithic membrane eliminates seams, common points of leakage.
✓ Extended Roof Lifespan: Dramatically prolongs the life of your existing commercial roof.
✓ Minimized Business Disruption: Quicker application means less impact on your daily operations.
✓ Non-Prorated Warranties: Typically ranging from 10 to 18 years, these warranties cover 100% of material and labor costs for the entire period, offering full value protection.
✓ Renewable & Transferable Warranties: Many systems allow warranties to be renewed with a maintenance coat or transferred to new building owners, adding long-term value.
Commercial Fabric Reinforced Roofing: Unyielding Strength & Flexibility
Restoring Older Roofs with Enhanced Durability and Tear Resistance.
For commercial roofs requiring exceptional strength and flexibility, Stormy Ridge Construction recommends and expertly installs fabric reinforced roofing systems. This innovative approach combines a high-quality reinforcing fabric with a durable coating, creating a robust, seamless membrane that offers superior protection and longevity. It's an ideal solution for existing roofs that need a significant upgrade in structural integrity and performance.
The distinct advantages of fabric reinforced roofing include its remarkable strength, flexibility, and exceptional tear resistance, making it particularly suitable for older roofs that may have experienced significant wear. Our past clients attest to the amazing repair capabilities and extended longevity achieved with these systems. Stormy Ridge Construction prides itself on delivering outstanding results and providing solutions that our clients can confidently refer to for their long-term durability.
01
Superior Strength
The embedded fabric provides exceptional tensile strength, enhancing the roof's overall durability.
02
Enhanced Flexibility
Adapts to building movement and thermal expansion/contraction without compromising integrity.
03
Outstanding Tear Resistance
Highly resistant to punctures, tears, and impacts, crucial for commercial environments.
04
Ideal for Older Roofs
A perfect solution for reinforcing and restoring aging or compromised roof surfaces.
05
Seamless Protection
Creates a monolithic, watertight barrier across the entire roof, eliminating common leak points.
06
Energy Efficiency
Many fabric reinforced systems offer reflective properties, contributing to reduced cooling costs.
07
Proven Longevity
Our past projects demonstrate the remarkable durability and extended lifespan these systems provide.
Step 1: Roof Assessment and Preparation
The process begins with a thorough evaluation to ensure the roof is a suitable candidate for a fabric-reinforced system.
✓ Inspect the Roof: A professional will inspect the entire roof for structural integrity, signs of moisture saturation, and existing damage.
✓ Clean and Repair: The roof surface is meticulously cleaned using a specialized cleaner and a pressure washer to remove all dirt, debris, and contaminants. Any existing cracks, punctures, or weakened seams are repaired to create a sound foundation for the new system.
✓ Ensure a Dry Surface: The roof must be completely dry before any coatings are applied. Trapped moisture can compromise the adhesion of the system.
Step 2: Apply a Primer or Base Coat
This initial layer is crucial for preparing the roof and creating a strong bond for the fabric and subsequent coatings.
✓ Prime the Surface: A specialized primer or base coat is applied to the entire, clean roof surface. This layer is designed to adhere tightly to the existing substrate and serve as the foundation for the entire system.
✓ Prepare for the Fabric: The coating is applied to a specific thickness, creating a wet layer for the fabric to be embedded into.
Step 3: Embed the Reinforcing Fabric
This is the key step that gives the system its strength and name.
✓ Lay the Fabric: While the base coat is still wet, a tough polyester or similar reinforcing fabric is unrolled and carefully embedded into the fluid-applied coating.
✓ Smooth and Saturate: The fabric is smoothed out to remove all wrinkles, bubbles, or "fish mouths." A wet roller is used to ensure the fabric is completely saturated with the base coat and tightly bonded to the roof surface with no dry spots.
✓ Overlap the Seams: Adjacent sections of fabric are overlapped by several inches at the seams to create a continuous, multi-layered barrier.
Step 4: Apply Additional Coats
Once the fabric is in place, more fluid-applied coats are added to complete the seamless, reinforced membrane.
✓ Apply a Second Coat: After the initial base coat and fabric have cured (typically within 24 hours), a second coat of the fluid-applied membrane is applied. This layer fully encapsulates the reinforcing fabric, creating a monolithic, highly durable layer.
✓ Apply a Reflective Topcoat: For systems designed for energy efficiency, a final topcoat is applied. This layer is often a light, reflective color to reduce heat absorption and protect the system from UV rays and weathering.
✓ Add Granules (Optional): In some cases, ceramic granules are broadcast into the wet topcoat. This adds slip resistance and extra protection for the membrane.
Step 5: Final Inspection
The final step ensures the quality and performance of the completed system.
✓ Walkthrough and Quality Check: The contractor performs a thorough final inspection, checking all seams, transitions, and details to ensure the entire roof is a single, reinforced, seamless membrane.
✓ Curing and Warranty: The finished roof is left to fully cure according to the manufacturer's instructions. Once cured, the system is ready to provide a waterproof, highly durable roof with a long-term manufacturer's warranty.
✓ Superior Strength: The embedded fabric provides exceptional tensile strength, enhancing the roof's overall durability.
✓ Enhanced Flexibility: Adapts to building movement and thermal expansion/contraction without compromising integrity.
✓ Outstanding Tear Resistance: Highly resistant to punctures, tears, and impacts, crucial for commercial environments.
✓ Ideal for Older Roofs: A perfect solution for reinforcing and restoring aging or compromised roof surfaces.
✓ Seamless Protection: Creates a monolithic, watertight barrier across the entire roof, eliminating common leak points.
✓ Energy Efficiency: Many fabric reinforced systems offer reflective properties, contributing to reduced cooling costs.
✓ Proven Longevity: Our past projects demonstrate the remarkable durability and extended lifespan these systems provide.
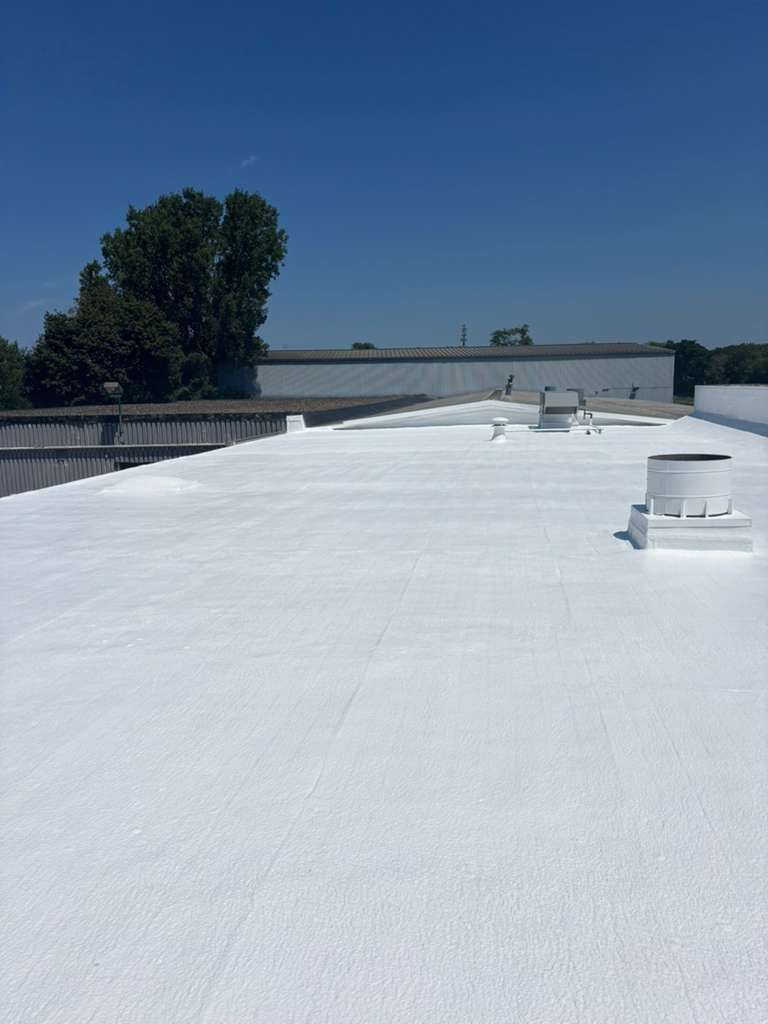
Commercial Foam Roofing: Unmatched Insulation & Seamless Protection
Revolutionary Thermal Performance and Lightweight Durability for Your Business.
For commercial properties seeking unparalleled thermal performance and a seamless, lightweight roofing solution, Stormy Ridge Construction expertly installs advanced foam roofing systems. This innovative technology provides superior insulation directly on your roof deck, creating a monolithic, self-flashing barrier that significantly reduces energy consumption and enhances interior comfort.
Our foam roofing services are ideal for a variety of commercial applications, particularly where superior insulation, a seamless finish, and a lightweight footprint are critical. Clients choose Stormy Ridge for our foam roofing services not just for the inherent benefits of the system, but for our superior customer service, outstanding results, and the longevity we build into every project. Coupled with robust warranties, our foam roofing solutions offer a smart, long-term investment for businesses prioritizing energy efficiency and durable protection.
01
Superior Insulation
Achieves high R-values, drastically reducing heating and cooling costs year-round.
02
Seamless & Watertight
Applied as a liquid, it cures to form a monolithic barrier, eliminating common leak points.
03
Lightweight Application
Adds minimal load to your building's structure, ideal for various roof types.
04
Self-Flashing
Conforms to irregular shapes and penetrations, creating a continuous waterproof surface.
05
Excellent Adhesion
Bonds strongly to most existing roof substrates, often eliminating the need for a tear-off.
06
Ideal for Diverse Climates
Performs exceptionally well in both extreme heat and cold, maintaining its integrity.
07
Outstanding Results
Our commitment to quality ensures a high-performance, long-lasting foam roof.
08
Comprehensive Warranties
Backed by excellent warranty options for materials and labor, ensuring peace of mind.
Step 1: Roof Inspection and Preparation
The process begins with a thorough inspection to determine if the existing roof is a good candidate for a foam system.
✓ Assess the Substrate: The existing roof surface (e.g., metal, concrete, built-up roof, or single-ply) is inspected for structural integrity. An infrared survey may be used to identify any trapped moisture.
✓ Repair and Clean: All existing leaks, cracks, and damage are repaired. The entire roof surface is then meticulously cleaned, often with a pressure washer, to remove all dirt, debris, oil, and contaminants. This is critical for the foam to adhere properly.
✓ Environmental Conditions: The contractor ensures that environmental conditions are suitable for application. This includes temperatures being within the recommended range (typically above 50°F), low humidity, and no rain in the forecast, as moisture can compromise the foam’s curing process.
Step 2: Foam Application
This is the main phase where the specialized foam is applied to the roof.
✓ Protect the Surrounding Area: The crew takes steps to protect the surrounding building, vehicles, and landscaping from overspray by using tarps and windscreens.
✓ Mix the Components: The foam is created on-site by a specialized machine called a proportioner. It accurately mixes two separate liquid chemical components at high pressure and a precise temperature.
✓ Apply the Foam: The blended liquid is pumped through heated hoses to a spray gun. The installer applies the foam in an even, smooth layer directly onto the prepared roof surface.
✓ Expand and Cure: As the liquid foam hits the roof, it rapidly expands up to 30 times its original size, filling all gaps and crevices. It cures within minutes, forming a solid, lightweight, and seamless layer. The thickness of the foam (typically 1 to 2 inches) is determined by the required R-value for insulation.
Step 3: Protective Coating Application
Once the foam is installed, a protective coating is applied to shield it from UV rays, weathering, and foot traffic.
✓ UV Protection: The foam will degrade within a short period if exposed to the sun's UV rays, so a protective elastomeric coating (typically silicone or acrylic) is applied.
✓ Apply a Base Coat: A base coat is sprayed or rolled onto the foam to provide a uniform, waterproof layer and a secure foundation for the final coat.
✓ Apply a Finish Coat: A final, highly durable topcoat is applied. This coat provides the primary weathering surface and is often a light, reflective color to increase the roof’s energy efficiency.
✓ Add Granules (Optional): In some systems, ceramic granules are embedded into the wet topcoat. This adds slip resistance, provides extra durability, and enhances the coating’s UV protection.
Step 4: Final Inspection and Curing
The final step ensures the quality of the installation and prepares the roof for long-term performance.
✓ Final Walkthrough: The contractor conducts a comprehensive final inspection to ensure the coating is evenly applied and that all details and flashing have been properly sealed.
✓ System Curing: The finished roof is allowed to cure for the manufacturer's specified period. Once cured, the system is fully bonded and ready to provide a waterproof, insulative, and durable roof for decades to come.
Commercial Single-Ply (PVC - TPO) Roofing: Versatile & High-Performance Solutions
Durable, Lightweight Membranes for Flat and Low-Slope Commercial Properties.
For flat and low-slope commercial properties, single-ply (PVC - TPO) roofing systems are a top choice, and Stormy Ridge Construction specializes in their expert installation. We primarily work with advanced membrane PVC systems, known for their exceptional durability, flexibility, and waterproofing capabilities. These versatile roofing solutions provide a lightweight yet robust barrier, designed to withstand harsh weather conditions and significantly extend your roof's lifespan.
The main advantages of single-ply roofing include their remarkable resistance to UV radiation, extreme temperatures, and chemical exposure, making them a highly reliable choice for a wide array of commercial, educational, industrial, and retail buildings. Our expertise ensures a precise, efficient installation that delivers superior waterproofing and long-term performance. With extended non-prorated warranties, our single-ply solutions offer unparalleled protection and value for your business investment.
01
Exceptional Durability
Highly resistant to punctures, tears, and environmental stressors, ensuring long-term performance.
02
Superior Waterproofing
Creates a robust, seamless membrane that effectively protects against leaks.
03
UV and Chemical Resistance
Maintains integrity even under prolonged sun exposure and chemical contact.
04
Lightweight
Adds minimal load to the building structure, suitable for various commercial constructions.
05
Energy Efficient
Many single-ply options offer high reflectivity, contributing to reduced cooling costs.
06
Rapid Installation
Large sheets and simplified attachment methods can lead to faster project completion.
07
Versatile Application
Ideal for new construction and re-roofing projects on flat and low-slope roofs.
08
Comprehensive Warranties
Benefit from robust, non-prorated warranties typically up to 25 years for commercial applications, often covering material, labor, and even "Total Systems" with no dollar limit on repairs, backed by substantial insurance policies.
Step 1: Roof Deck Preparation
The first and most critical step is to prepare the existing roof deck. The surface must be clean, dry, and structurally sound.
✓ Remove Old Materials: The existing roofing system is carefully removed down to the structural deck.
✓ Inspect the Deck: The underlying roof deck is thoroughly inspected for any signs of damage, rot, or water infiltration. Any compromised sections are repaired or replaced to ensure a solid foundation.
✓ Clean the Surface: The deck is swept and cleaned to remove all dust, debris, fasteners, and loose materials that could puncture or compromise the new membrane.
Step 2: Install the Insulation
A layer of insulation is installed over the prepared deck to provide a flat, stable surface for the membrane and to improve the building’s thermal performance.
✓ Lay the Boards: Rigid insulation boards (such as polyisocyanurate or EPS) are laid in a staggered pattern over the deck.
✓ Secure the Insulation: The insulation boards are mechanically fastened to the deck with specialized fasteners and plates. This secures the insulation and prevents it from shifting.
Step 3: Install the Cover Board (Optional but Recommended)
A cover board (typically a high-density, fire-resistant material like gypsum) is often installed over the insulation.
✓ Add a Layer of Protection: The cover board provides an additional layer of protection for the insulation from punctures and adds to the system's fire resistance.
✓ Create a Smooth Surface: It creates a smooth, clean surface, which is ideal for the adhesion of the membrane.
Step 4: Install the Single-Ply Membrane
This is the main phase where the single-ply membrane is laid down and secured. The membrane is typically a large roll of PVC, TPO, or EPDM.
✓ Position the Membrane: The large rolls of membrane are unrolled and carefully positioned on the roof, allowing them to relax and flatten out.
✓ Secure the Membrane: The membrane can be secured using one of three methods:
- Mechanically Attached: The membrane is fastened to the roof deck using specialized screws and plates along the seam. This is a common method for new construction.
- Fully Adhered: The membrane is glued directly to the cover board or insulation using a special adhesive. This method provides a smooth, clean aesthetic and superior wind resistance.
- Ballasted: The membrane is loosely laid and held in place by a layer of river-washed stones or pavers. This method is used when the building can support the extra weight.
Step 5: Seam Welding
This is the most critical step for waterproofing the roof.
✓ Weld the Seams: Adjacent membrane rolls are overlapped, and the seams are welded together using a specialized heat-welding tool. This melts the top and bottom membrane layers together, creating a seamless, watertight bond that is stronger than the membrane itself.
✓ Inspect the Welds: Every single weld is meticulously tested by the installer to ensure a continuous, strong seal, leaving no room for water to penetrate.
Step 6: Flashing and Detailing
This step ensures all vulnerable areas of the roof are properly waterproofed.
✓ Flash the Penetrations: The installer carefully cuts and welds membrane sections around all roof penetrations, such as pipes, vents, and HVAC units, creating a watertight seal.
✓ Secure the Edges: The membrane is secured and sealed at all roof perimeters and parapet walls. This involves installing termination bars and adding extra flashing to prevent water from entering at the edges.
Step 7: Final Inspection and Cleanup
The job is not complete until a final walkthrough is performed to ensure everything is perfect.
Final Inspection: The installer performs a comprehensive inspection of the entire roof, checking every seam, weld, and detail. The roof is then checked by a third-party inspector to confirm the quality of the installation.
Site Cleanup: All debris, waste materials, and tools are removed from the roof and the surrounding area, leaving the site clean and ready for use.
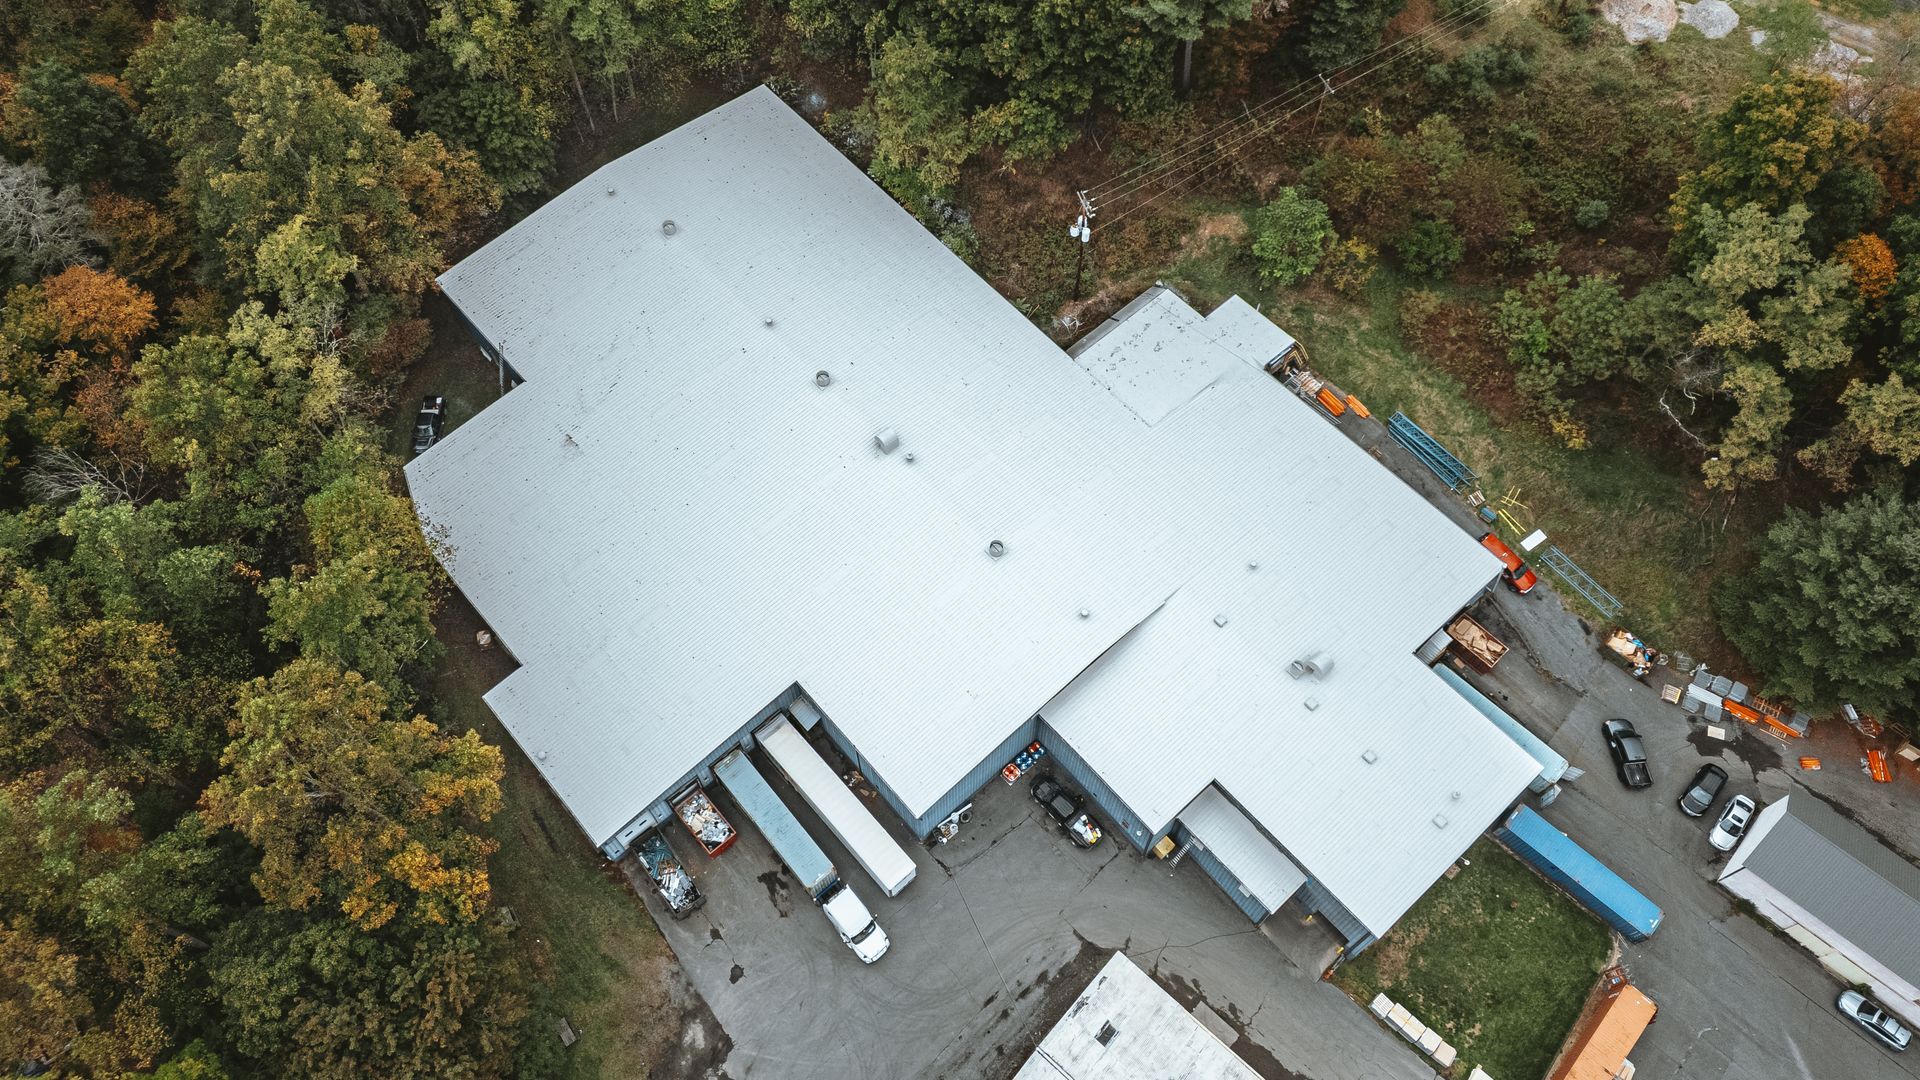
Commercial Metal Roofing: Unmatched Durability, Style, and Sustainability
Long-Lasting Protection and Distinctive Aesthetics for Your Commercial Property.
For commercial properties seeking a roofing solution that combines unparalleled durability, a long lifespan, striking aesthetics, and excellent sustainability, Stormy Ridge Construction specializes in the expert installation of standing seam metal roofing systems. This premium choice offers robust protection against the elements while elevating your building's architectural appeal.
Our standing seam metal roofs are celebrated for their impressive lifespan, often exceeding 50 years, and their exceptional resistance to wind, fire, and hail. Beyond their incredible strength, clients appreciate the wide array of color options and the clean, modern aesthetic that metal roofing provides. With its low maintenance requirements and high recyclability, commercial metal roofing is a smart, long-term investment that contributes to both your bottom line and environmental responsibility.
01
Exceptional Longevity
Often lasts 50+ years, offering superior long-term value compared to other systems.
02
Outstanding Durability
Highly resistant to severe weather, fire, rot, and insects, providing robust protection.
03
Wide Color Selection
Extensive range of color options to perfectly match your brand or building aesthetic.
04
Enhanced Aesthetics
Standing seam provides clean lines and a contemporary look that boosts curb appeal.
05
Energy Efficiency
Can be highly reflective, helping to reduce cooling costs and improve interior comfort.
06
Low Maintenance
Requires minimal upkeep over its lifespan, saving on ongoing operational costs.
07
Sustainability
Made from recycled content and fully recyclable at the end of its life, making it an eco-friendly choice.
08
Superior Wind Resistance
Mechanically fastened panels provide excellent uplift resistance in high winds.